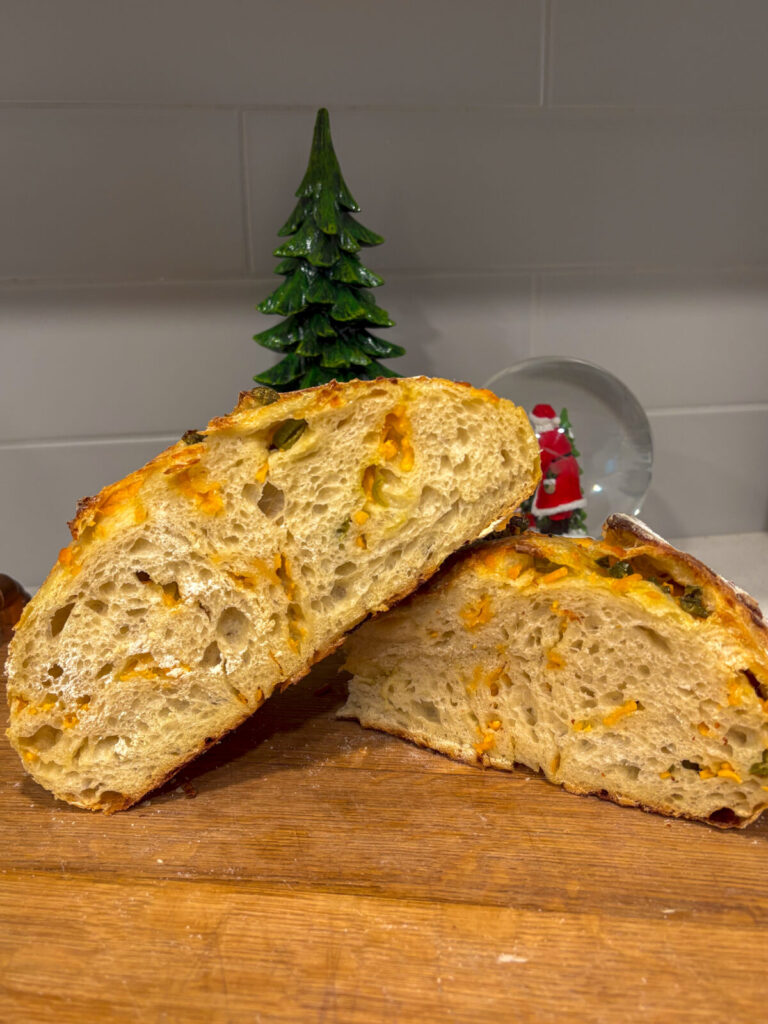
Jalapeño Cheddar Sourdough Bread: Easy Recipe Guide
Baking sourdough bread at home is incredibly satisfying. It allows you to choose high-quality ingredients and results in a loaf that’s not only packed with flavour but also offers great health benefits. The fermentation process makes sourdough bread easier to digest and good for your gut health, so you can enjoy something delicious while supporting your body naturally.
How do you store it?
Once your sourdough bread is baked, it must be stored properly. I like to slice the entire loaf into pieces, place them in a freezer bag, and freeze them. This way, you can easily grab one slice at a time. Just toss it in the toaster, and you’ll have fresh bread whenever you want. It’s the perfect way to make your hard work last and enjoy every slice.
So, why bake sourdough bread instead of other kinds of bread?
Making sourdough bread is more than simply enjoying the health benefits. Feeding your starter, folding the dough, and baking the loaf is incredibly satisfying and therapeutic. Plus, there are so many creative options to explore, like mixing in jalapeño and cheddar to suit your taste. Sourdough isn’t just a type of bread; it’s an experience that’s worth your time.
How long is this bread good for?
Due to its natural fermentation, sourdough bread remains fresh longer than many commercial breads. When stored correctly, a loaf lasts 3 to 4 days on the countertop. To maintain its freshness, place it in a paper bag or wrap it loosely in a kitchen towel, allowing for airflow while keeping it from drying out. It’s best to avoid plastic bags or airtight containers, as these can trap moisture. Enjoy your sourdough bread within the first couple of days for the best texture and flavour.
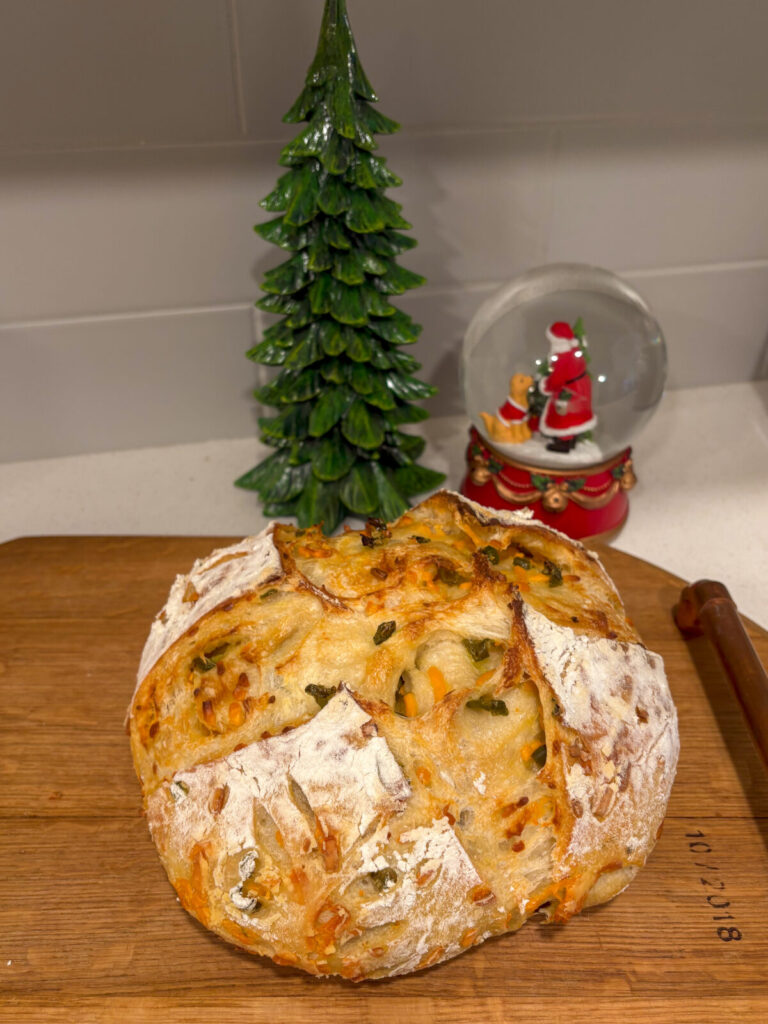
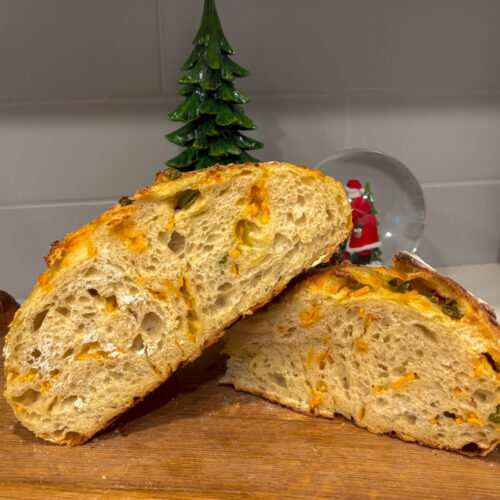
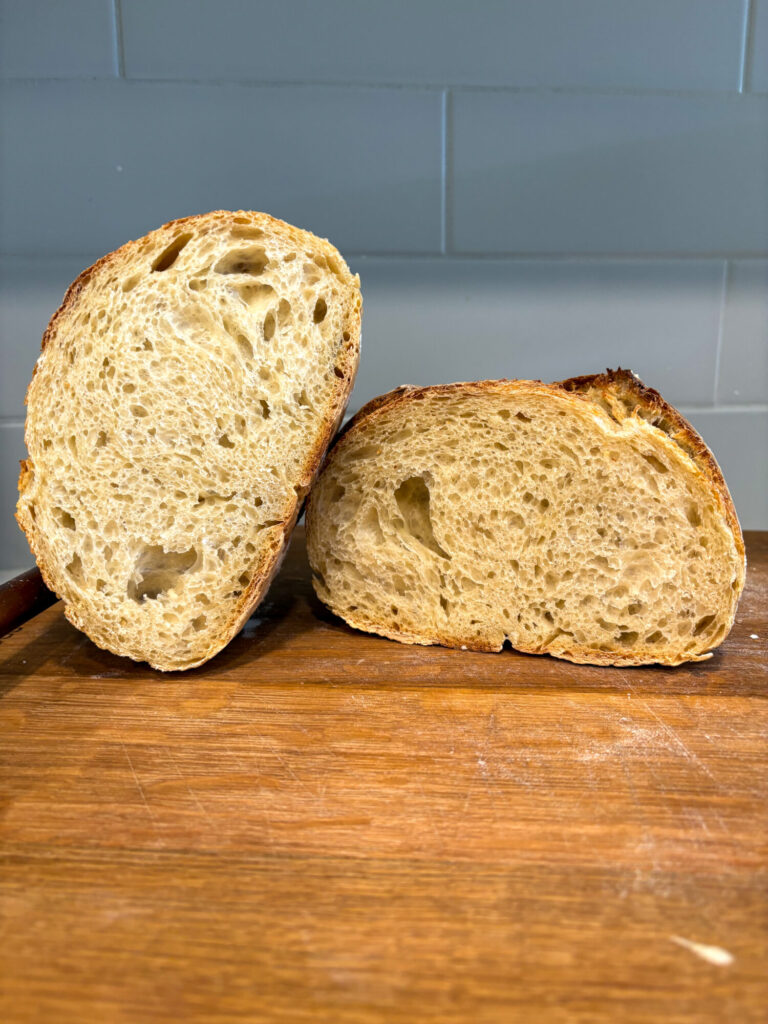
Jalapeño Cheddar Sourdough Loaf
Equipment
- 1 Large mixing bowl
- Kitchen scale For precise measurements
- Kitchen towel or plastic wrap For covering the dough during fermentation
- Dough whisk or wooden spoon
- Bench scraper or spatula
- Medium-sized bowl or banneton
- Parchment paper or baking sling
- Lame or sharp serrated knife
- Dutch oven
Ingredients
Ingredients to make 125 grams of active sourdough starter
- 50 grams Sourdough starter
- 50 grams Filtered room temperature water
- 50 grams All-purpose unbleached flour or bread flour
Dough Ingredients
- 125 grams Active sourdough starter
- 325 grams Filtered room temperature water
- 500 grams All-purpose unbleached flour OR bread flour
- 10 grams salt
Inclusion Ingredients
- 60 grams Jalapeño's sliced (pickled or fresh)
- 120 grams Sharp cheddar cheese
Instructions
Feed your Sourdough Starter
- 8-12 hours before you want to prep your loaf, feed your sourdough starter equal parts water and flour and let it sit at room temperature until it doubles in size and has plenty of bubbles. (Put 50 grams of sourdough starter into a jar and add in 50 grams of water and 50 grams of flour, stir until combined). You will end up with more sourdough starter than you need for the recipe
Mixing the Dough
- In a large bowl, combine the sourdough starter (125 grams) and warm water (325 grams). Stir until the starter is dissolved and you are left with a milky mixture. Add the flour (500 grams) and salt (10 grams). Mix until a thick dough forms and there are no dry pockets of flour. Cover the bowl with a kitchen towel or plastic wrap and let it rest for 1 hour.
Stretch and Folds
- Perform 3-4 sets of stretch and folds every 30 minutes. Keep the dough covered between sets.To stretch and fold, lift one side of the dough, stretch it upwards, and fold it over the center. Repeat on all sides.
Add in the Inclusions
- During the third set of stretch and folds add in the jalapeño's (60 grams) and the sharp cheddar cheese (120 grams). Stretch and fold the jalapeño's and cheddar cheese into the dough until they are incorporated.
Bulk Fermentation
- After your last stretch and fold, cover the dough with a damp kitchen towel or plastic wrap. Let the dough sit at room temperature until it has risen, the sides are bubbly, and the top is jiggly. Your bulk fermentation time depends on your environment. If your climate is hot and humid you will have a shorter bulk fermentation time than someone who lives in a dry, cold climate.
- Shape and Cold Proof
- Flour your countertop and transfer the dough onto it. Your dough may need help, so you can gently guide it using your hands or a rubber bench scraper.Shape the dough by flattening it out into a rectangle (careful not to tear the dough). Fold one side of the rectangle into the middle of the dough. Fold the other side of the rectangle on top of the side you just placed down.Gently roll the dough up from one end to the other.Then, you will do push and pulls. Gently push the dough ball away from you and then pull it back towards you. This will create tension on the top of the dough. If you need help with this step, I have a tutorial on my TikTok page (therapybysourdough)Place the dough in a floured banneton or towel-lined bowl, seam side up, and cover it. Let it sit at room temperature for 30 minutes to an hour, then refrigerate for 4-24 hours. (the longer it sits in the fridge, the more sour flavour your loaf will have; it also makes it easier to digest)*Tip* I like to cover my dough with a damp towel so that the dough does not dry out in the fridge
Score and Bake
- Preheat the oven to 450°F (230°C) with the Dutch oven inside for 30 minutes.Gently flip your dough onto parchment paper. The seam side will be sitting on the parchment paper.To flour the top of the loaf, use Thai rice flour or the flour you used to make the dough.Use a scoring tool or a knife to make a large cut along the side of the dough. This allows the gases to escape while it bakes. If you miss this step, your loaf could explode!You can add pretty designs if you would like. Pinterest has excellent inspiration pictures!Transfer it to the preheated Dutch oven.Bake covered for 30 minutes, then remove the lid and bake for another 15 minutes.*Tip* place a cookie sheet on the rack below your Dutch oven while your loaf bakes to prevent the bottom from burning
Cool off and Enjoy!
- Take your loaf out of the oven and let it cool on a wire cooling rack or in the Dutch oven. Let it cool for at least an hour before you cut into it.Tip** If you don't want your crust to be super crunchy, I like to let the loaf cool for 30 minutes without the lid on and then put the lid back on for the last 30 minutes of its cooling time. Enjoy!!!
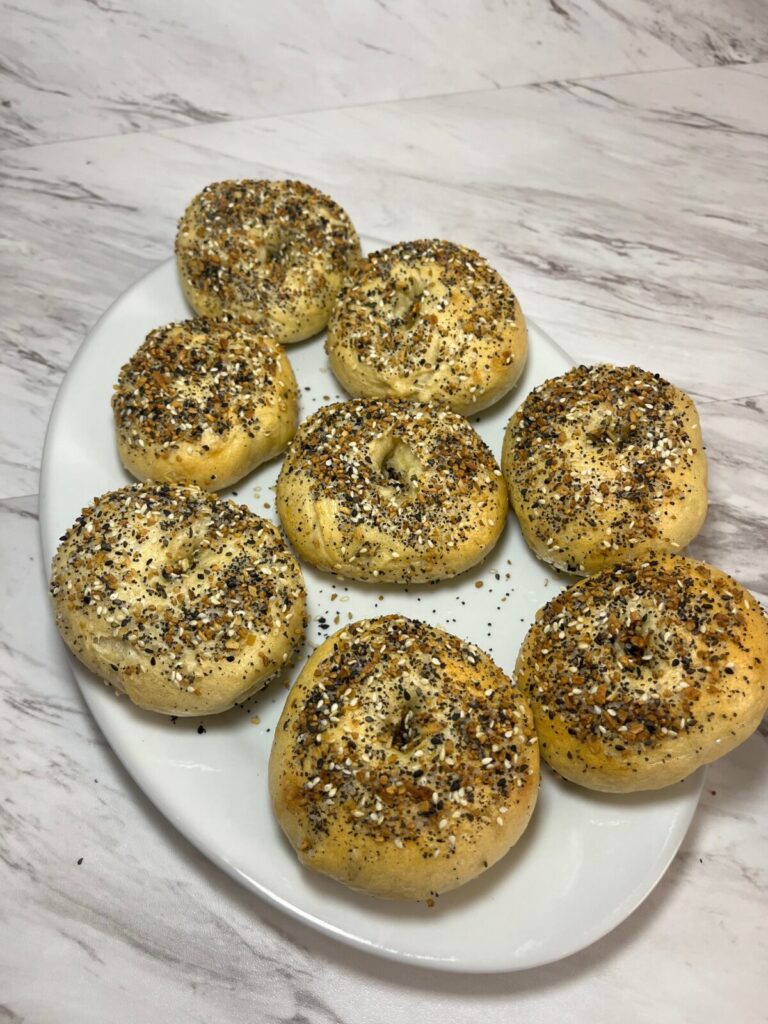
Are you craving bagels but want the added benefits of sourdough? Check out this super easy sourdough bagel recipe!
Don’t have a sourdough starter? No Problem! Check out my beginner-friendly sourdough starter guide.
Having trouble with your sourdough starter? Here are some ways to troubleshoot to get a super strong sourdough starter!
Need to stock up on sourdough essentials? Check out my sourdough must haves!

I made this cheddar jalapeño sourdough today after just recently starting my sourdough journey. It was so easy to follow and turned out SO well. Can’t wait to make more inclusion loaves!
LOVE THIS!!! Planning on making this again just to make as little croutons for a tomato soup night!! Or even as grilled cheese would be incredible!
So so so yum!! Need to make again!
This bread is amazing with a grilled cheese sandwich! So addictive! The recipe is so easy to follow, I will be making this again! 😊